

DESCRIPTION
3 PIECE RUBBER STRAP KIT - SPECIFICATIONS
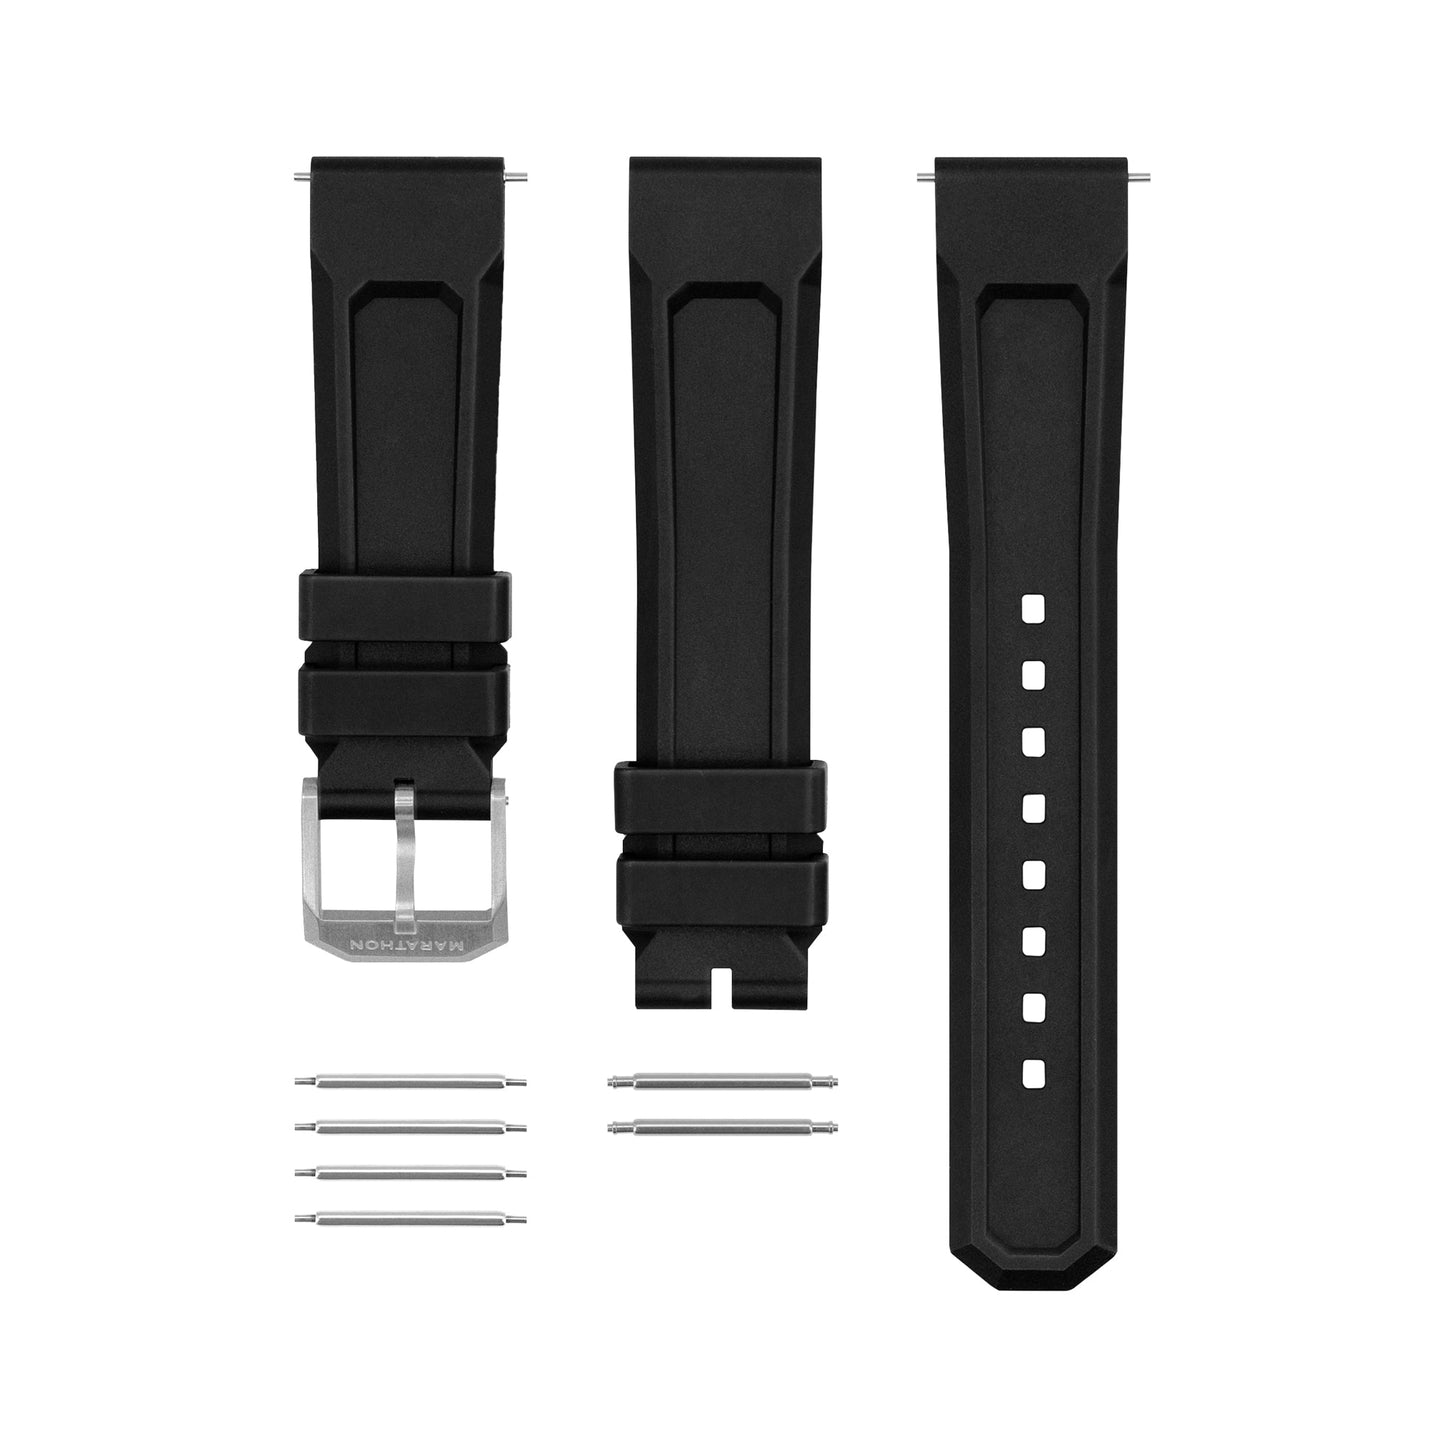
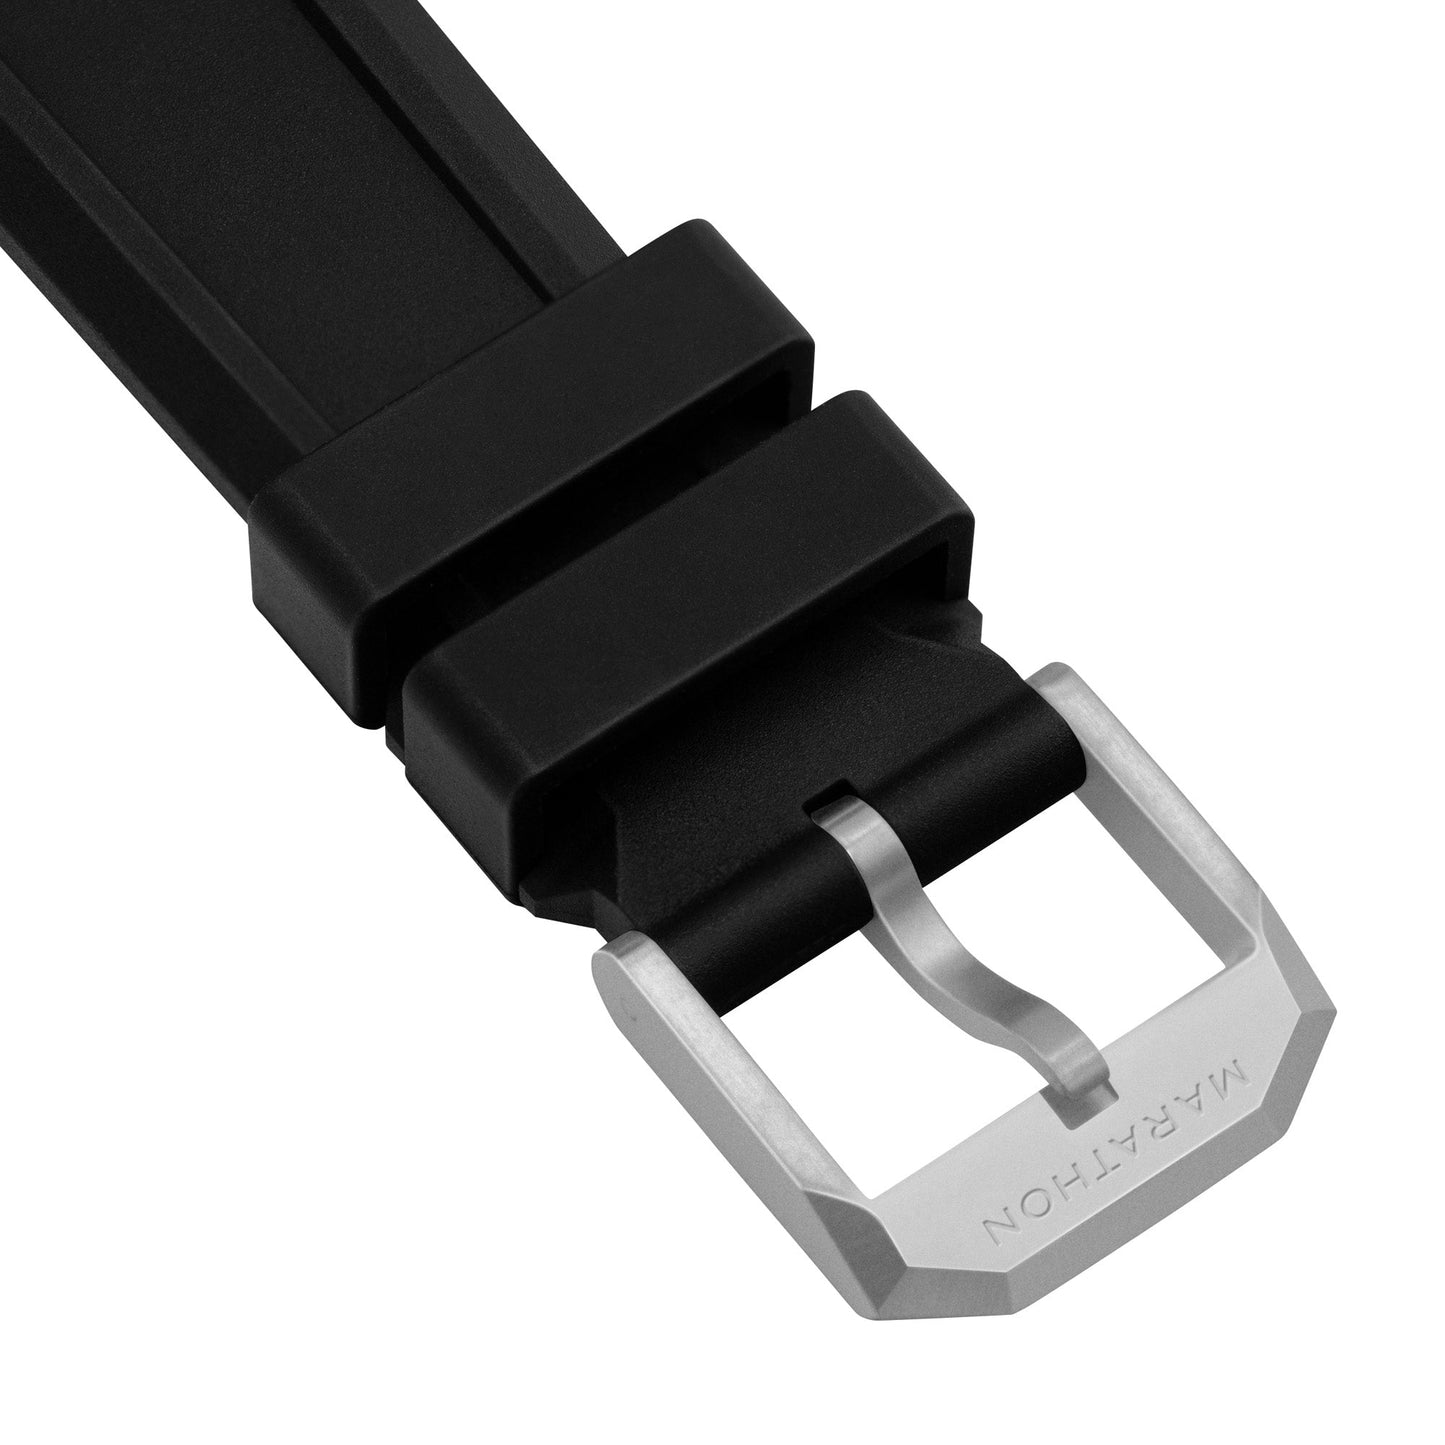
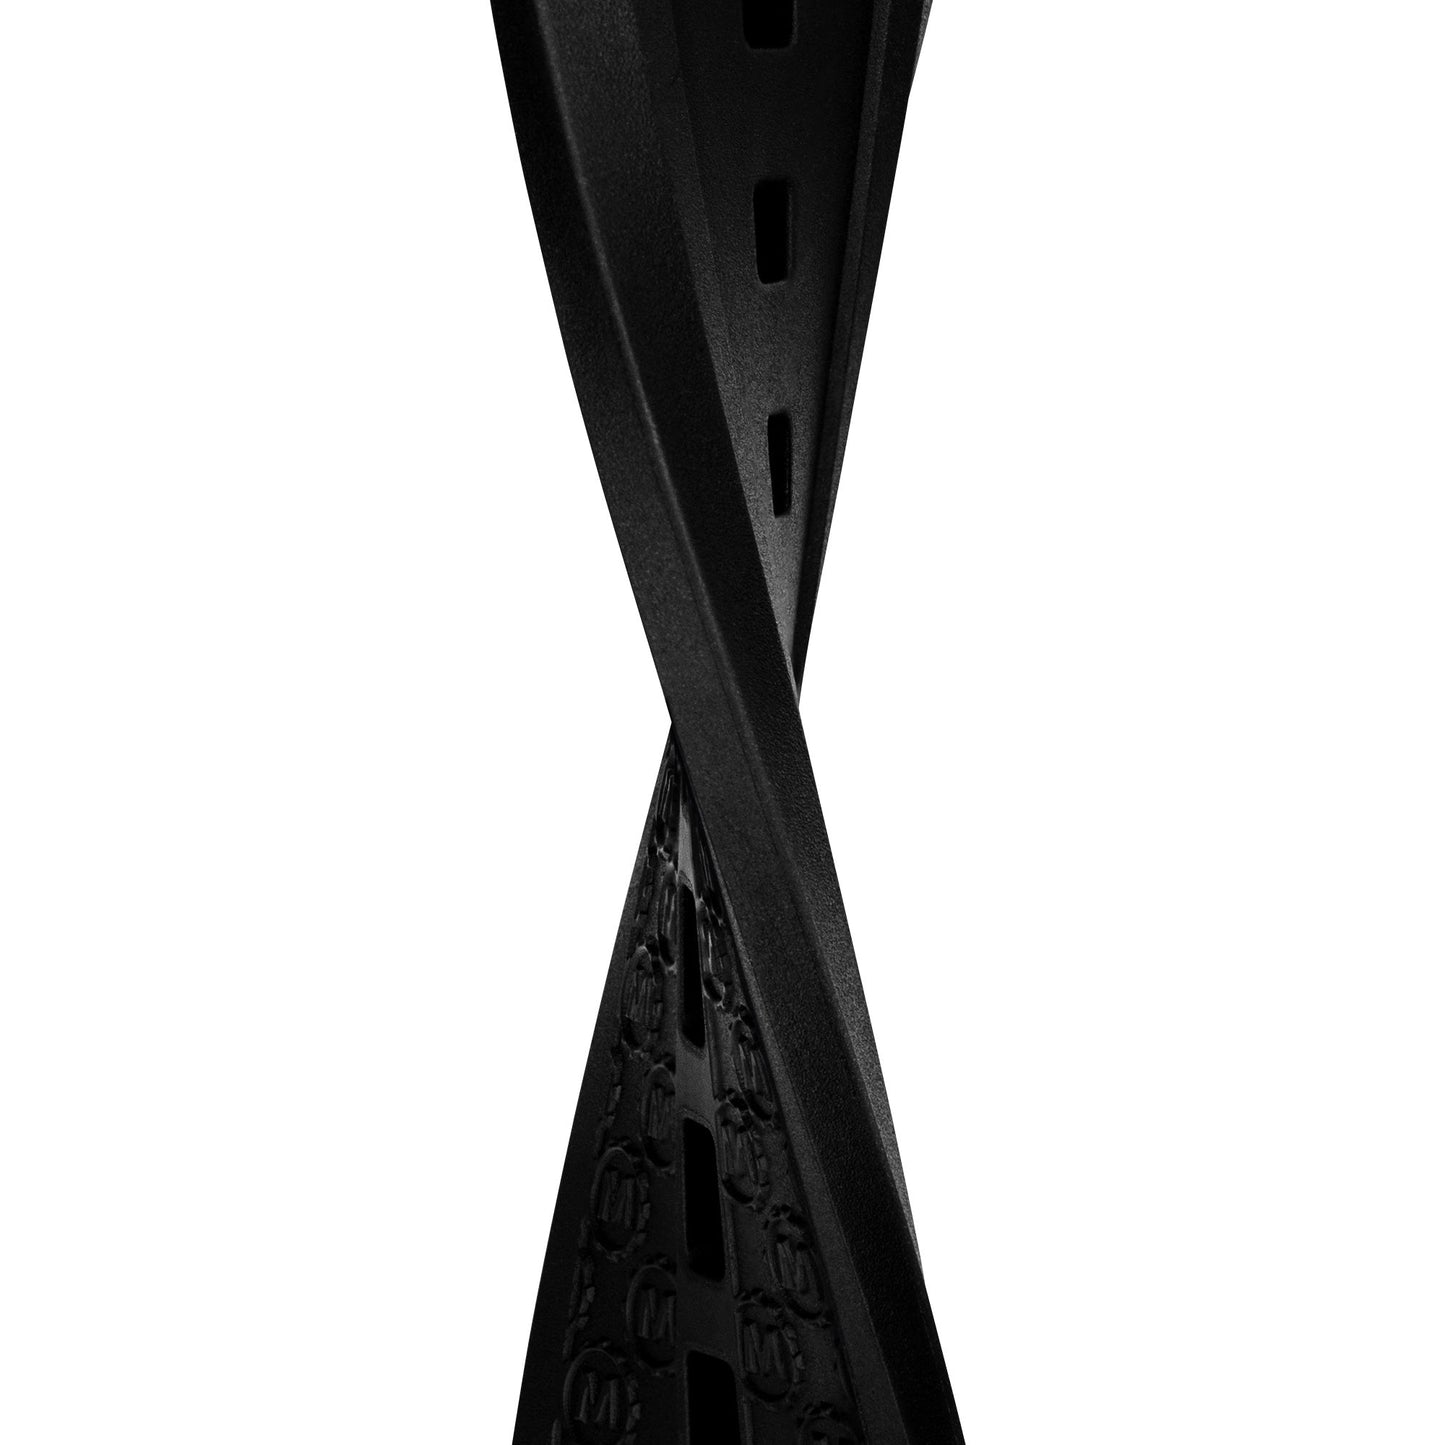
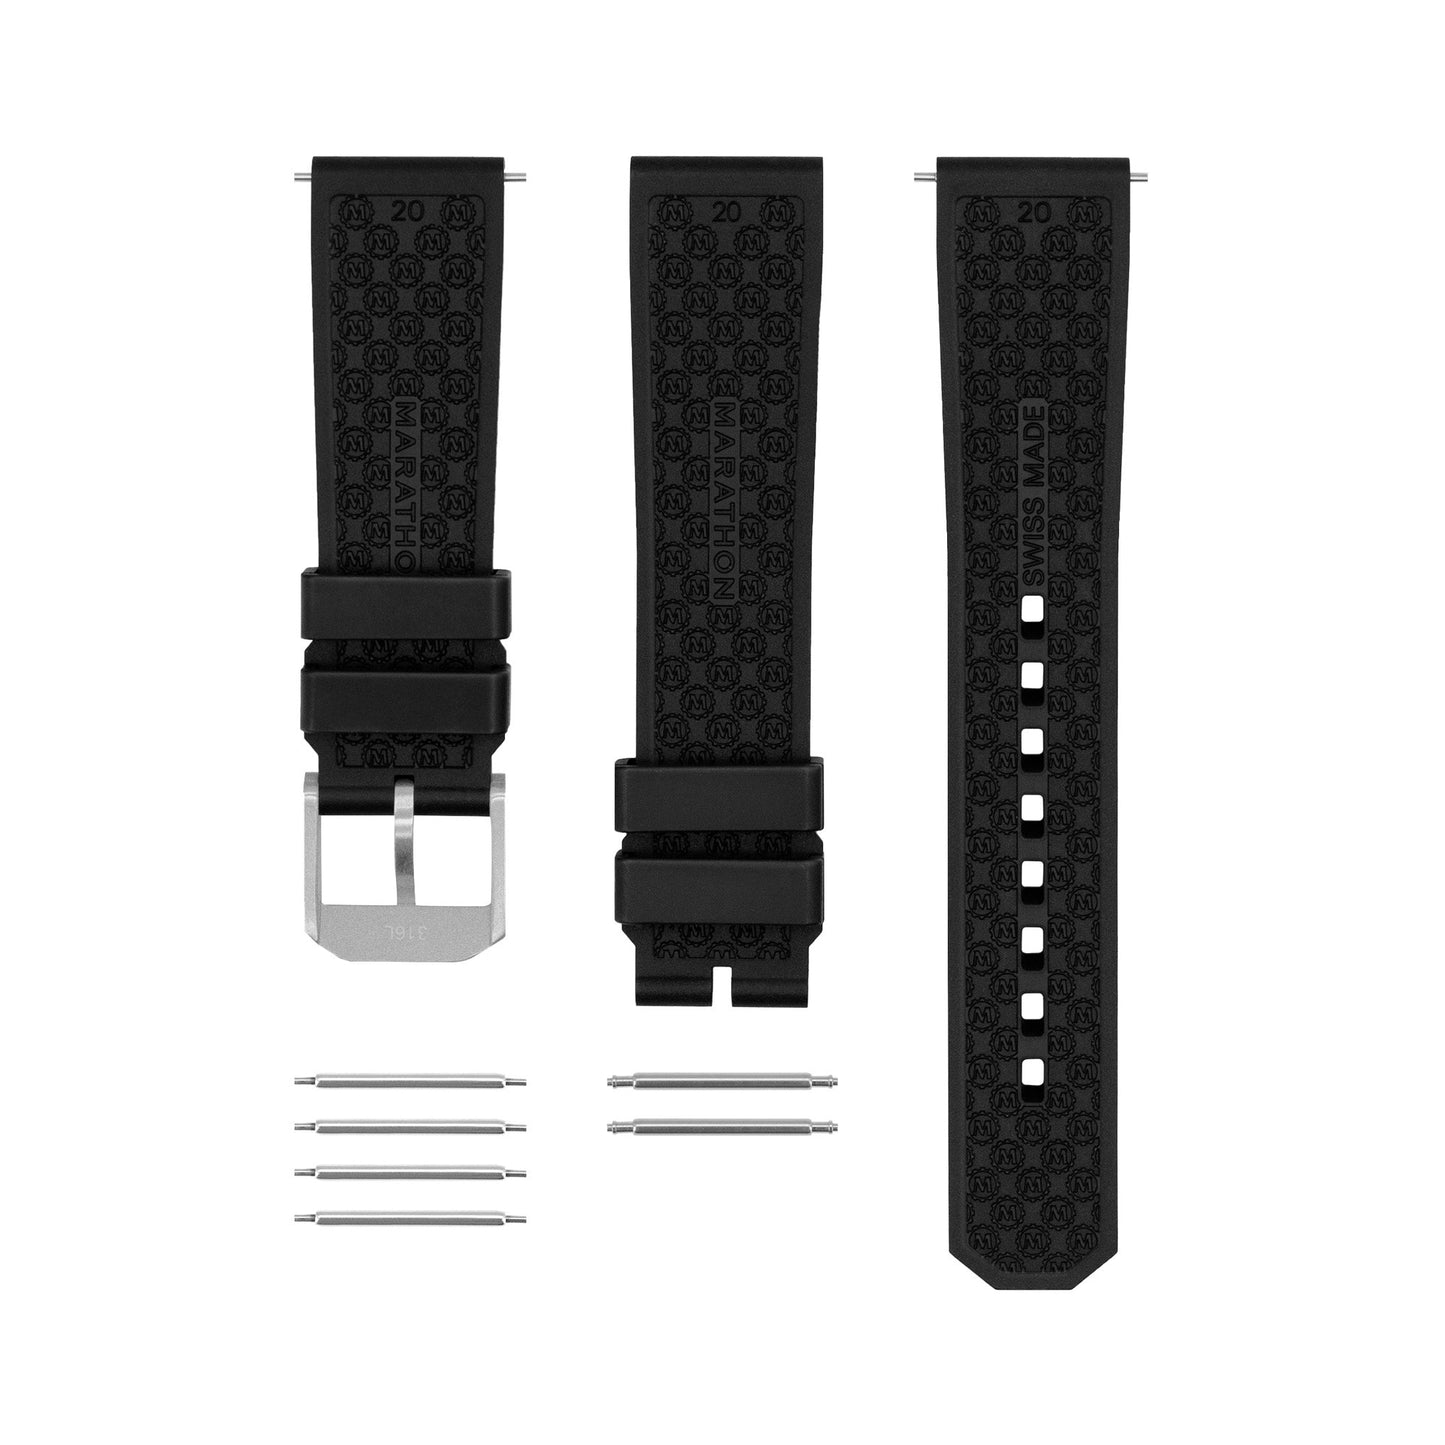
Our kit features 316L stainless steel hardware with a beveled buckle and thick tongue for increased breaking strength. The 2 buckle pieces have built-in keeper guards to prevent the keeper from slipping, while the underside of each strap features a signature Marathon Cog etched lining, that delivers a comfortable grip even in extreme conditions.
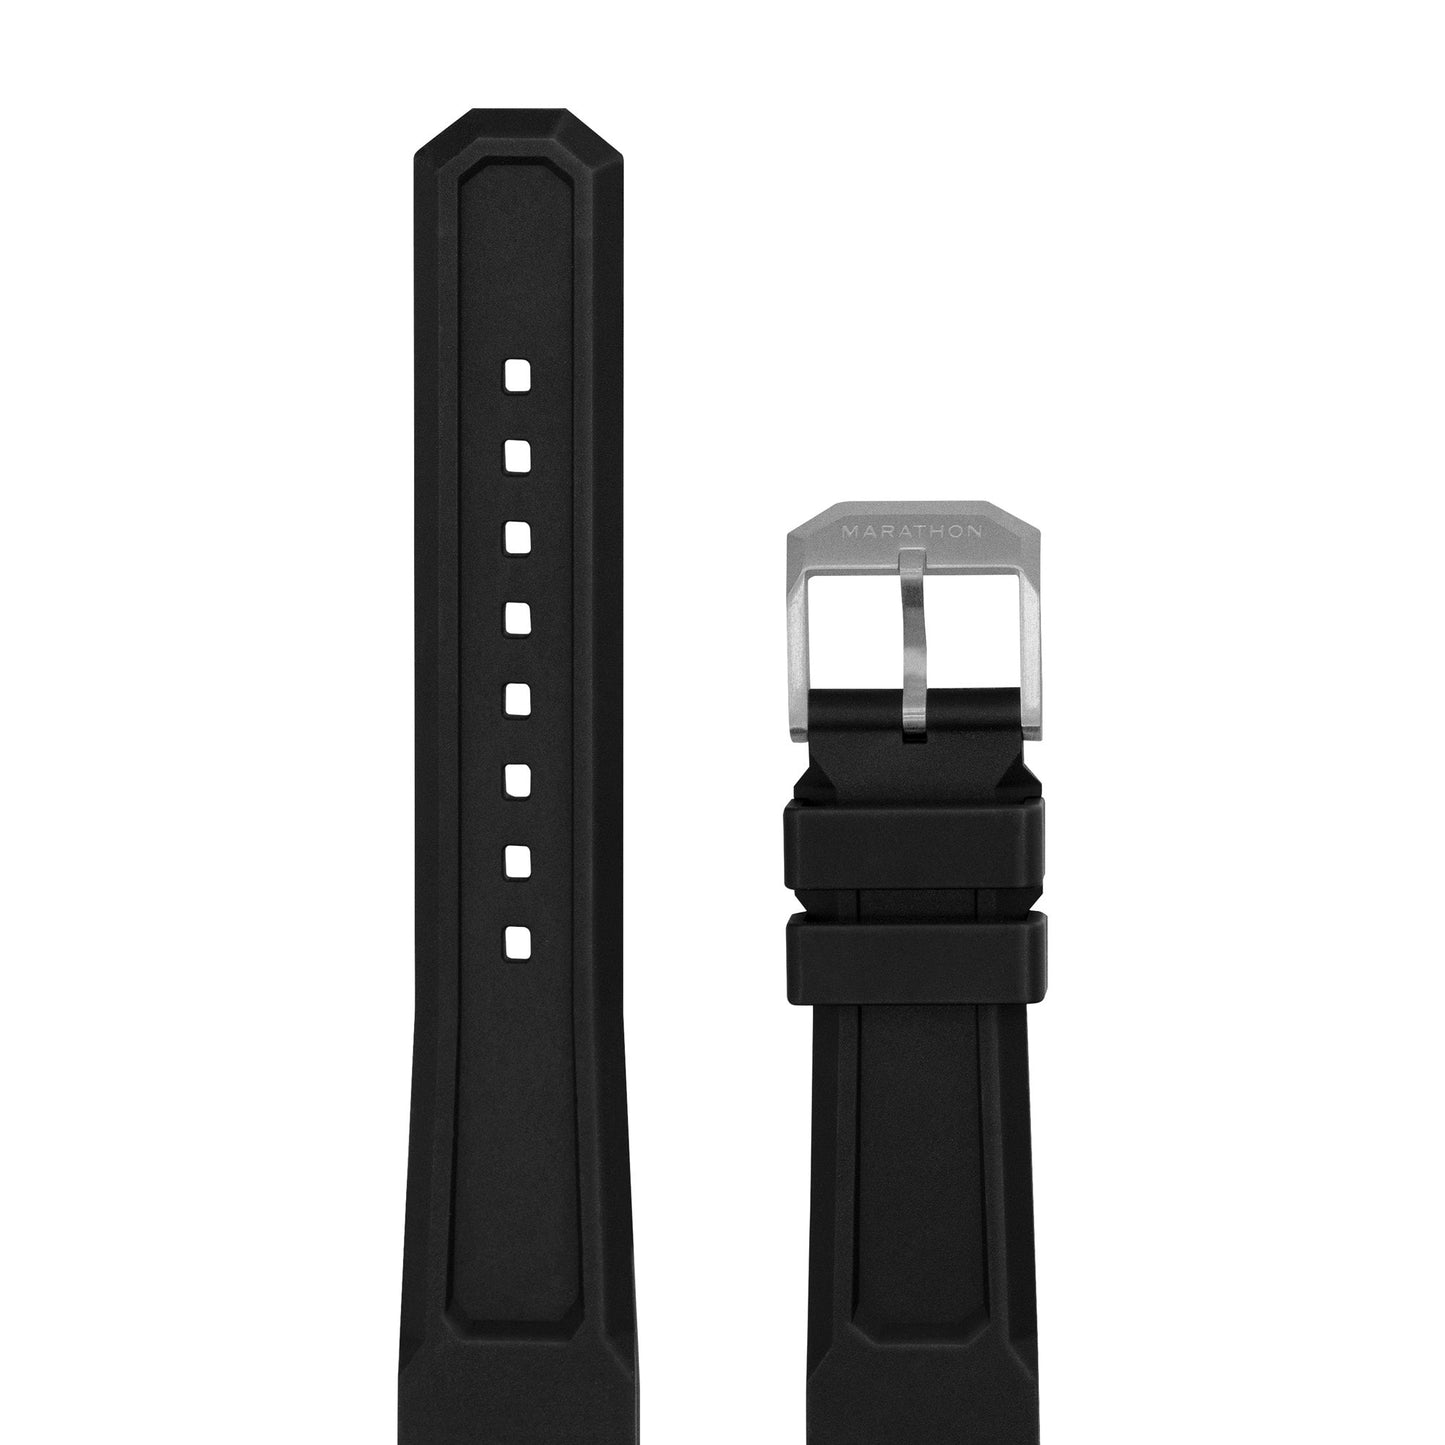
Manufactured in La Chaux-de-Fonds, Switzerland, our 3 Piece Rubber Strap Kit is crafted from FKM Rubber to meet the requirements of high-performance military applications. The 3-Piece Kit comes with one (6 o'clock) tail piece with 8 adjustment holes, and two (12 o'clock) buckle pieces of different sizing that allow the wearer to tailor the length to fit their wrist size.
SIZING & ADJUSTING
Sizing Your Wrist:
To determine your wrist size, wrap a string or thread around your wrist at the point where you normally wear your watch. Mark the string where it crosses itself, lay it flat on a table and measure the distance between the marks.
Sizing Specifications:
There are two lengths to your watch strap, the tail end or “6 o’clock” (length of long section), and the buckle end or “12 o’clock” (length of short section, excluding buckle). When reading a watch strap sizing such as (120/70 mm), the first number (120) is the length of the tail end in millimetres. The second number (70) is the length of the buckle end.
| 18mm | 20mm | 22mm |
 |
 |
 |
| WS-RB-BKPS-18 | WS-RB-BKPS-20 |
WS-RB-BKPS-22 |
CHANGING THE BUCKLE
-
Removing The Buckle:
Your Marathon Rubber Strap has small holes on the side to make changing the buckle easier
Step 1: Insert the pin pusher end of spring bar tool into one of the holes, compressing the spring bar until it releases from the buckle. Repeat for
other side.
Step 2: Remove the spring bar completely by pulling it with your fingers. If the spring bar does not come easily, use the pin pusher end of the spring bar tool to push it out.
Once the spring bar has been removed, the buckle tongue will slide out easily.
-
Installing The Buckle:
Step 1: Insert the spring bar through one side of the strap until it reaches the cut out.
Step 2: Insert the buckle tongue into the cut out section and hold it in place while you push the spring bar through the rest of the way. Use the pin pusher to help if needed.
Step 3: Catch one side of the buckle on the spring bar and then use the forked end of the spring bar tool to compress the spring bar on the other side and slide the buckle over the top of it. Give the buckle a gentle pull to make sure it is attached securely.
TECHNICAL INFORMATION
Kit Includes:
1x Strap, Rubber: Buckle Section [w/ Parkerized Buckle]
Strap Position: 12 o‚clock
1x Strap, Rubber: Buckle Section
Strap Position: 12 o‚clock
1x Strap, Rubber: Tail Section
Strap Position: 6 o‚clock
4x Shoulderless Spring Bars
4x Shouldered Spring Bars


